

1. In-Home Consultation and Project Review
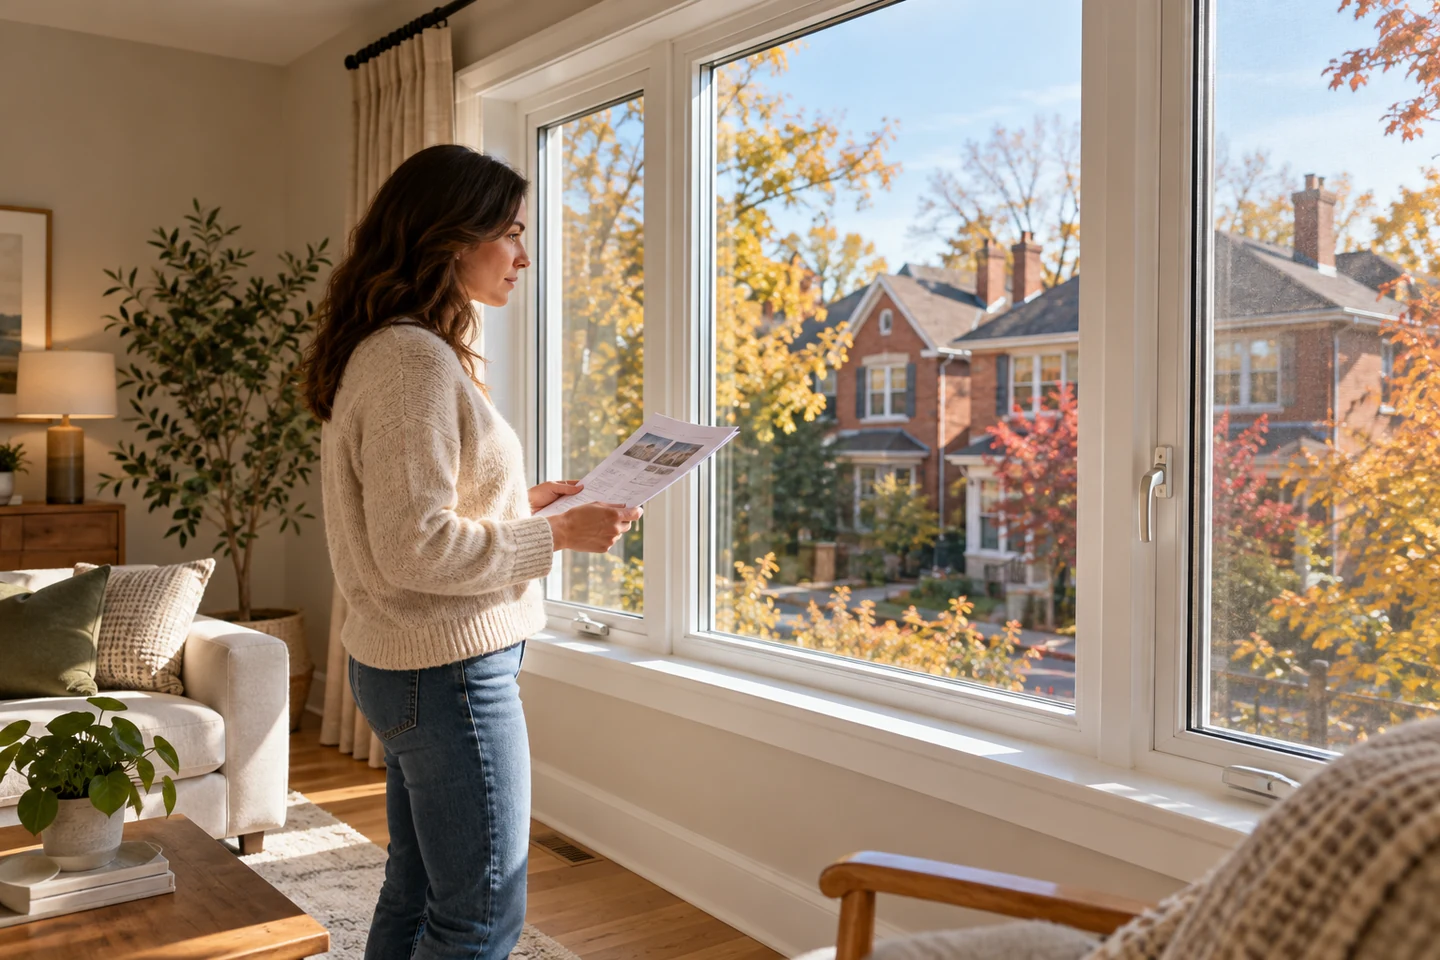
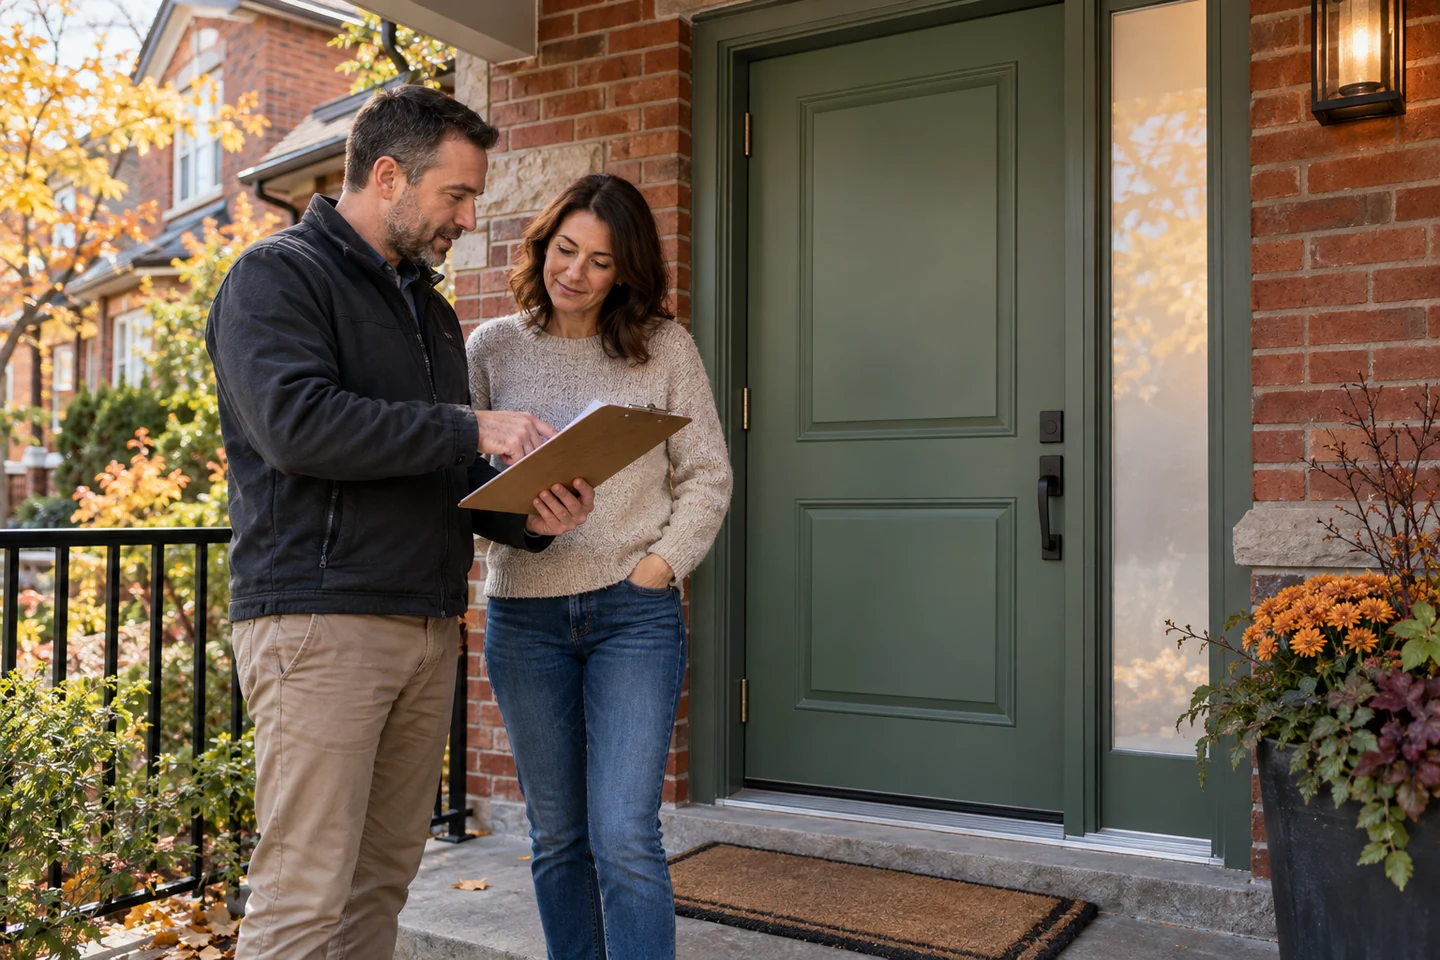
We begin by discussing what you want to replace and what problems you are experiencing. These may include drafts, water leaks, damaged frames, difficult operation, outside noise, security concerns or an outdated appearance.
We inspect the openings, discuss suitable products and explain which installation method may be appropriate. You will have an opportunity to review window styles, glass packages, door materials, colours, hardware and finishing options before making a decision.
2. Final Measurements and Order Confirmation
Accurate measurements are essential because replacement windows and exterior doors are manufactured for specific openings. Before the order is finalized, we confirm the dimensions, wall depth, operating direction, door handing, swing clearance, sill conditions and finishing requirements.
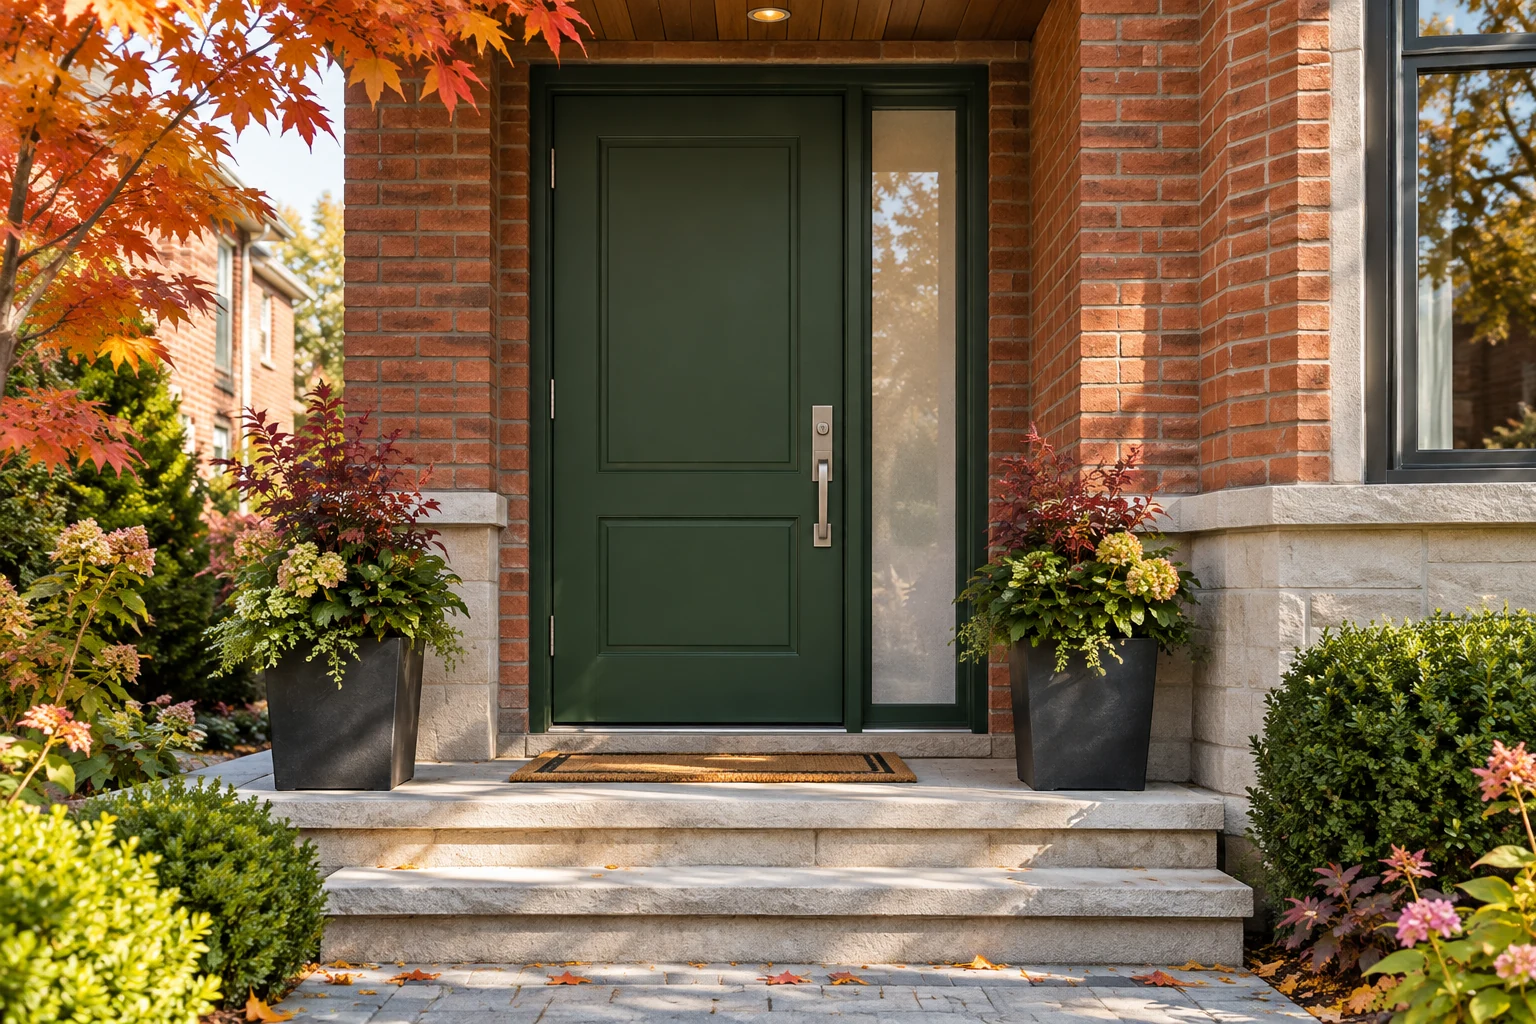
We also review details such as exterior colour, interior finish, glass design, screens, grilles, hardware and any sidelights or transoms included in the project.
3. Scheduling and Pre-Installation Preparation
Once the products are ready, we arrange an installation date and explain how to prepare the work area. Before beginning, the installation team confirms the project scope and identifies the windows or doors being replaced.
Homeowners should remove fragile objects, window coverings and small furniture from the immediate work area. Pets and young children should remain away from the work zone, and any alarm contacts attached to the old windows or doors should be discussed in advance.
4. Protecting the Work Area and Removing the Old Unit
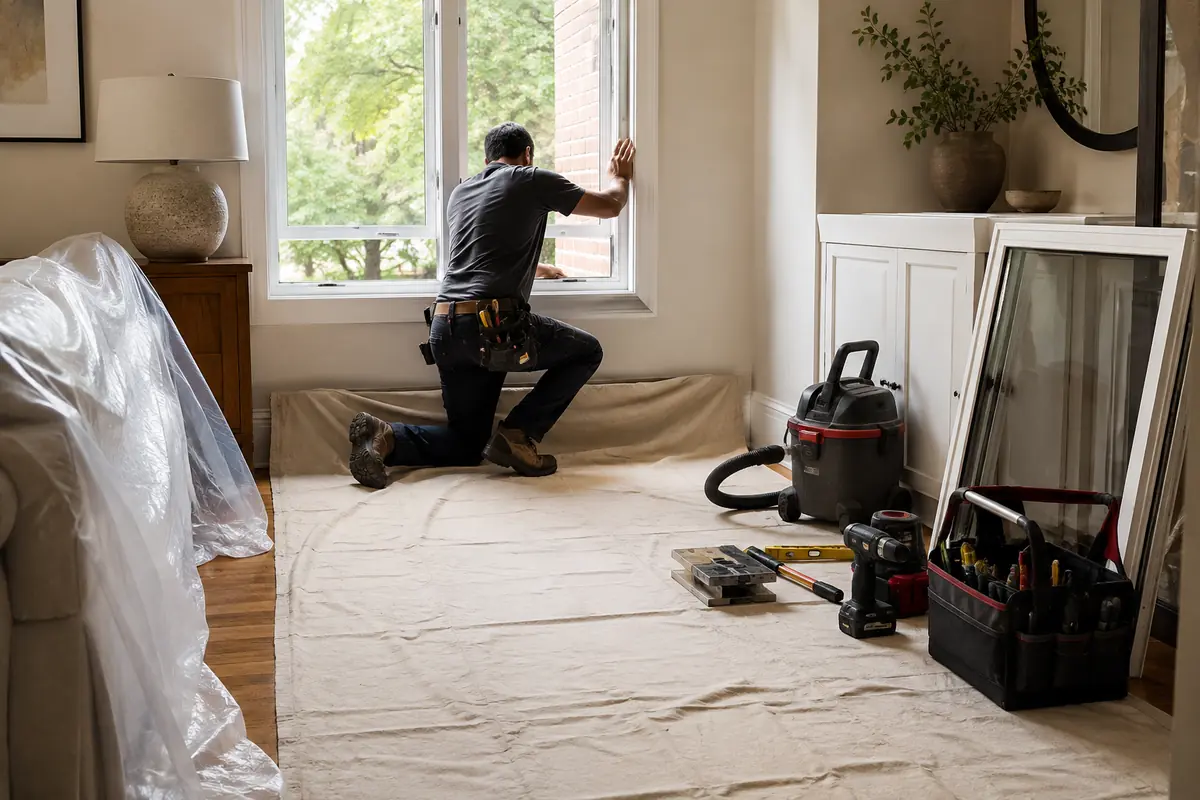
We protect the working area and the pathway used to carry tools, materials and removed units. The old window or door is taken out carefully to limit unnecessary damage to the surrounding walls, floors, brick and trim.
Where practical, openings are handled individually so that the home is not exposed to outside conditions longer than necessary. The exact removal procedure depends on whether the project is retrofit, full-frame, brick-to-brick or a complete pre-hung door replacement.
5. Inspecting and Preparing the Opening
Once the old unit is removed, the exposed opening can be examined more closely. Loose material and debris are cleared away, and the sill and surrounding structure are checked before the replacement unit is installed.
Occasionally, concealed rot, water damage or previous construction problems become visible only after removal. If unexpected repairs are required, they should be explained and approved before work continues.
6. Installing, Insulating, Sealing and Finishing
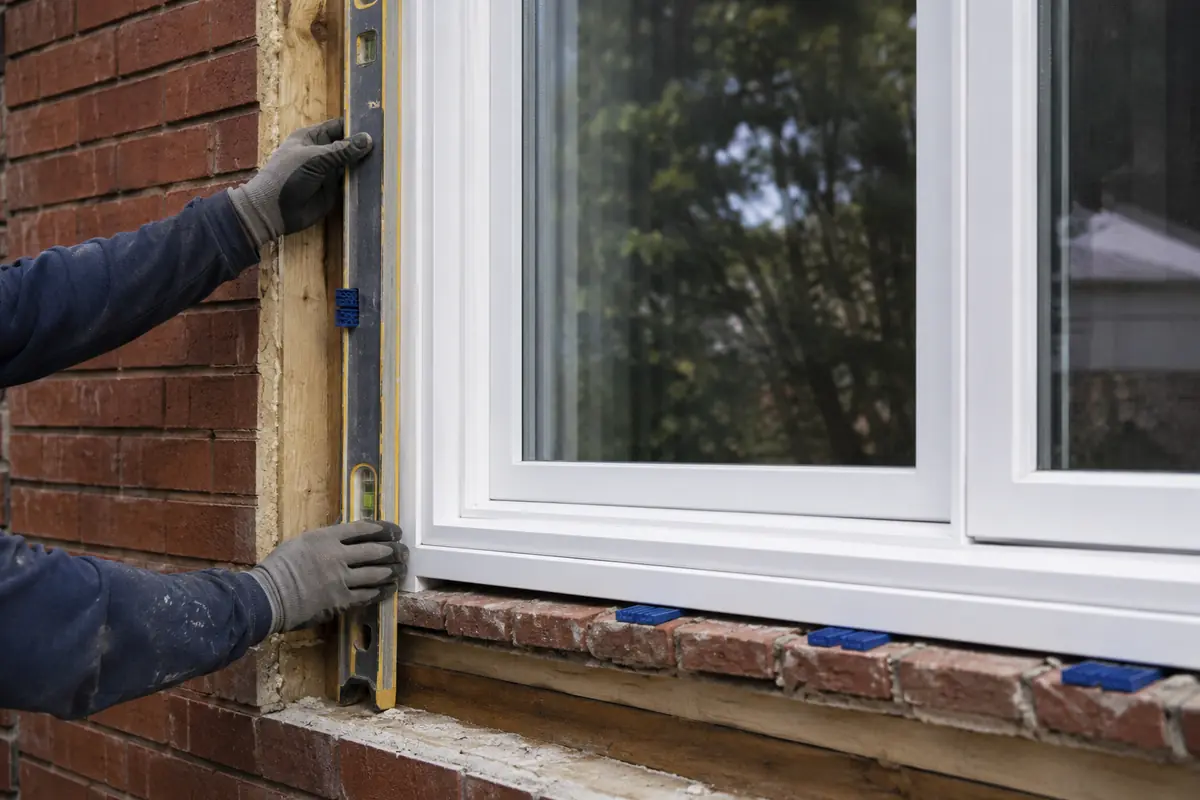
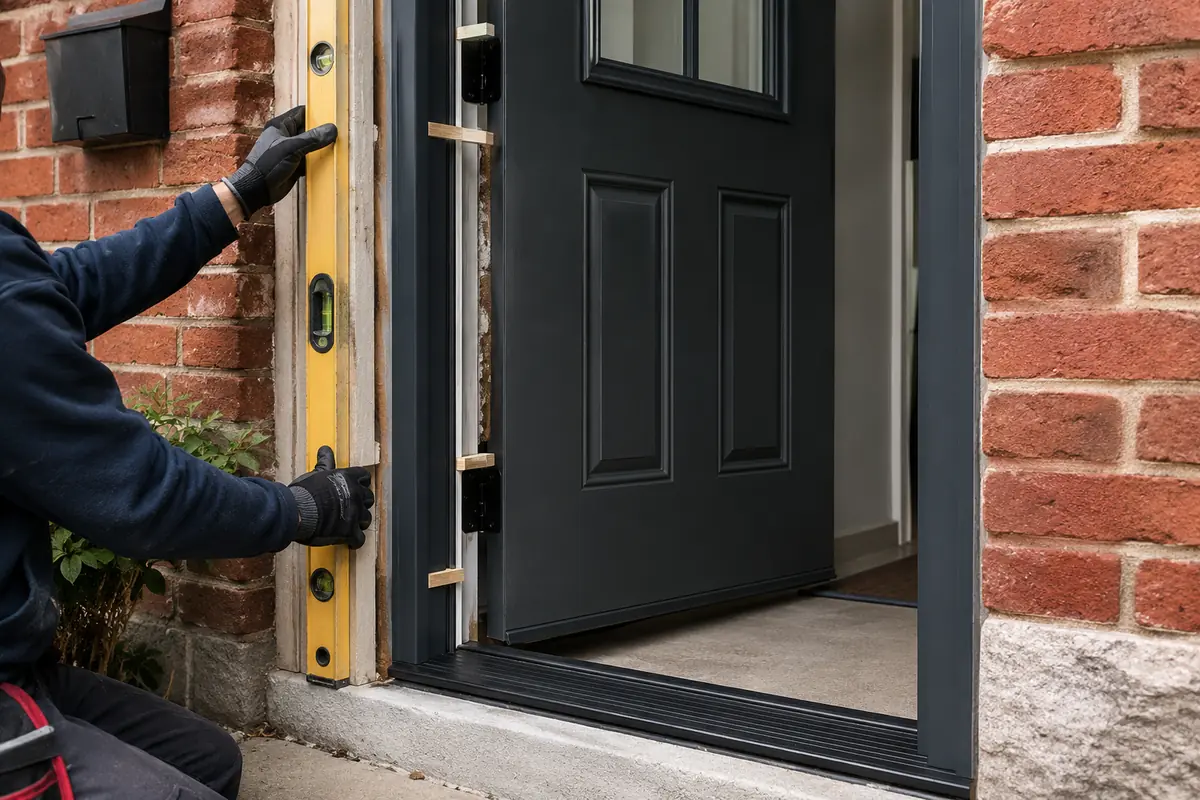
The new window or door is positioned, levelled, shimmed and fastened according to the opening and product requirements. We check the frame throughout the installation to prevent twisting or distortion.
The perimeter is insulated using materials suitable for window and door openings. Exterior sealing, aluminum capping, interior trim and other finishing work are then completed as specified in the written estimate.
7. Final Inspection and Cleanup
Before completing the project, we operate the windows, doors, locks and hardware. We check alignment, spacing, weatherstripping contact and the overall finished appearance.
The work area is cleaned, and the homeowner is shown how to operate and care for the new products. Applicable product and installation information should be retained with your project records.